Building a Serverless URL Shortener
In my last post, we explored how URL shorteners operate as simple translators. We looked at how they convert database auto-increment IDs into short Base62 tokens and reverse the process during a redirect.
Moving from theory to a working application requires a clear, step-by-step development strategy.
The following section outlines the steps I took to build and deploy my own URL Shortener application.
The High-Level Build Strategy
I broke down the implementation into four straightforward, modular steps to separate the frontend view from the backend logic.
Step 1: Initialize the Cloud Table
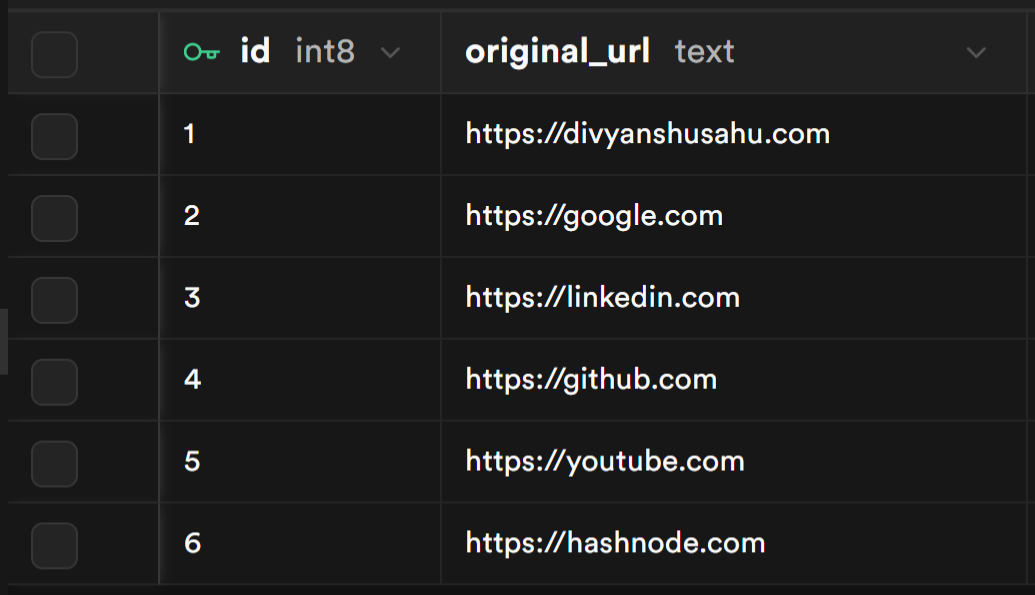
I started by creating a managed cloud database using Supabase. Inside the database dashboard, I set up a single table structured with two columns:
- An identity primary key column that automatically assigns a unique, sequential number to every new link.
- A text column to securely hold the original destination web addresses.
Here is a look at how the structured table appears inside the Supabase dashboard with some active entries:
Step 2: Establish Custom Route Priority
Because a URL shortener needs to process dynamic paths (like capturing anything after the slash in a domain), I created a vercel.json configuration file to set up master routing rules. In this file, I explicitly prioritized my routes so that the server knows exactly when a user is trying to create a new short link versus when they are clicking an existing short link to be redirected. This safety net prevents the application paths from experiencing routing collisions.
Here is the exact routing configuration I used:
{
  "rewrites": [
    { "source": "/api/shorten", "destination": "/api/shorten" },
    { "source": "/:code", "destination": "/api/redirect?code=:code" }
  ]
}
Step 3: Implement the Data Pipeline
Next, I handled the core programming logic by writing two completely decoupled, independent scripts:
- The Creation Side (
api/shorten.js): This script intercepts a long URL submitted by the user, saves it into the database table, and captures the newly generated row number. It then uses Base62 encoding math to convert that unique number into a short text token and returns it to the frontend application. The frontend then constructs the final short URL by appending this text token to the end of the domain name.
// Excerpt from handler function inside api/shorten.js

const { url } = req.body;
const { data, error } = await supabase
  .from("urls")
  .insert([{ original_url: url }])
  .select("id")
  .single();

const shortCode = encodeId(data.id);
return res.status(200).json({ shortCode });
- The Redirection Side (
api/redirect.js): This script triggers the moment a user clicks a shortened link. It captures the text token from the end of the URL, reverses the math back into the original database integer ID, locates the corresponding long URL in the table, and instantly sends it back with an HTTP redirect.
// Excerpt from handler function inside api/redirect.js

const { code } = req.query;
const dbId = decodeShortCode(code);

const { data, error } = await supabase
  .from("urls")
  .select("original_url")
  .eq("id", dbId)
  .single();

return res.redirect(302, data.original_url);
Step 4: Secure Key Configuration & Cloud Deployment
To ensure safety of database credentials, I avoided hardcoding any sensitive passwords or tokens directly into the source code files. Instead, I used secure environment variables.
I pushed the final clean codebase to a public GitHub repository, imported it into Vercel, and pasted my database entry keys directly into the platform's secure cloud dashboard. Vercel built the paths in under a minute, delivering a live, public link
Conclusion
By avoiding heavy server setups and opting for a structured, file-system-based routing architecture, I built a modern URL shortener. Every component works in a clean sequence, moving data smoothly from the user's browser to the cloud database and back.
If you want to view the complete file structure or test the live application yourself, use the links below:
See you in the next post.